
You might be surprised to learn that a ginger root needs about 10 months of warm temperatures to fully mature. The good news? You can harvest this amazing plant after just 2 months.
Growing ginger at home works well even without a tropical climate. Anyone can grow this beneficial plant by starting it indoors and moving it outside when temperatures stay above 60°F. The process turns out to be pretty simple, whether you want to grow ginger indoors, in pots, or from root.
Ginger makes a great choice because it multiplies on its own. A single piece develops into multiple new rhizomes that increase your harvest by a lot. On top of that, it packs impressive health benefits. This powerful plant helps calm upset stomachs and comes with anti-inflammatory, antioxidant, and anticancer properties.
In this piece, we’ll cover everything you need to know about growing ginger root at home. We’ll take you from picking the right rhizomes to harvesting and storing your homegrown ginger. Ready to begin?
Choose the Right Ginger Root
Quality ginger rhizomes are the foundations of successful ginger cultivation. Your plants’ growth and production depend on the rhizome’s quality.
How to identify healthy ginger rhizomes
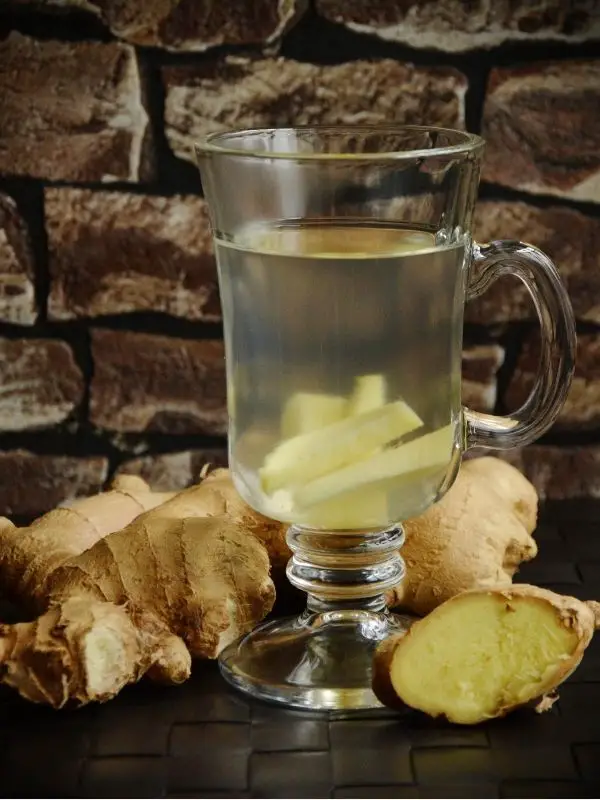
Let’s clear up something crucial: we plant rhizomes, not roots. People often call it “ginger root,” but it’s an underground stem that grows roots and shoots from its nodes. This difference matters when you pick your planting material.
Here’s what to look for when you check ginger rhizomes at stores or markets:
- Color and appearance: Pick ginger with light tan to golden color. Healthy rhizomes should look plump with smooth skin and defined knobs.
- Firmness: A gentle press should reveal firm, solid ginger without soft areas.
- Buds/eyes: This is your key feature! Choose pieces that show multiple eye buds (small pointed bumps). Green-tinted buds have better growth potential.
- Size: Pick pieces 2-3 inches or longer with multiple buds. Small pieces might not grow properly.
- Aroma: Fresh ginger gives off a crisp, spicy scent with hints of lemon. Stay away from musty smells.
Skip any rhizomes that look dry, shriveled, wrinkled, or show dark spots – these signs point to old, less viable ginger.
Organic vs. non-organic: What works best
Your choice between organic and conventional ginger makes a big difference for home growing:
| Characteristic | Organic Ginger | Conventional Ginger |
|---|---|---|
| Growth inhibitors | No chemical treatment | Contains sprout inhibitors |
| Sprouting ability | Sprouts easily | Might never sprout |
| Cost | Costs more | Budget-friendly |
| Availability | Harder to find | Accessible to more people |
| Preparation needed | Basic soaking helps | Needs overnight soaking |
Organic ginger stands out as the better choice for home gardens. Store-bought conventional ginger contains chemicals that block sprouting to last longer on shelves. Even organic store ginger might take extra weeks or months to sprout compared to seed-grade varieties.
“Seed-grade” ginger from trusted growers or organic seed companies offers the best results. This specialized growing stock has:
- Fresh, young rhizomes
- More sprouting buds
- Stronger skins that resist rot
- No growth-blocking treatments
Organic ginger from grocery stores or farmers’ markets works well if you can’t find seed-grade options. Notwithstanding that, store-bought organic ginger needs more time to sprout than seed-grade varieties.
Follow these steps to prepare your rhizomes:
- Soak them in warm water overnight (crucial for store-bought types)
- Cut larger pieces into 1- to 1½-inch sections with at least two eyes each
- Let cut pieces dry for a few days to form protective calluses
Picking healthy, organic rhizomes with plenty of buds sets up your home-grown ginger for success. Your harvest’s quality depends on your starting material.
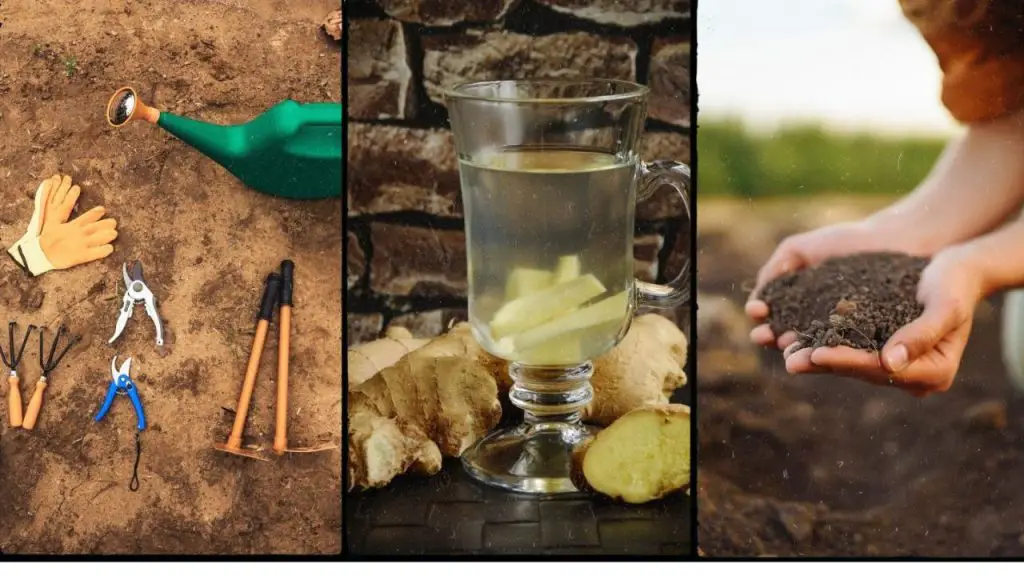
Prepare for Planting: Tools and Setup
You need the right tools and growing environment after picking your perfect ginger rhizomes. Good preparation creates the foundation for healthy ginger plants that thrive.
Essential tools and materials
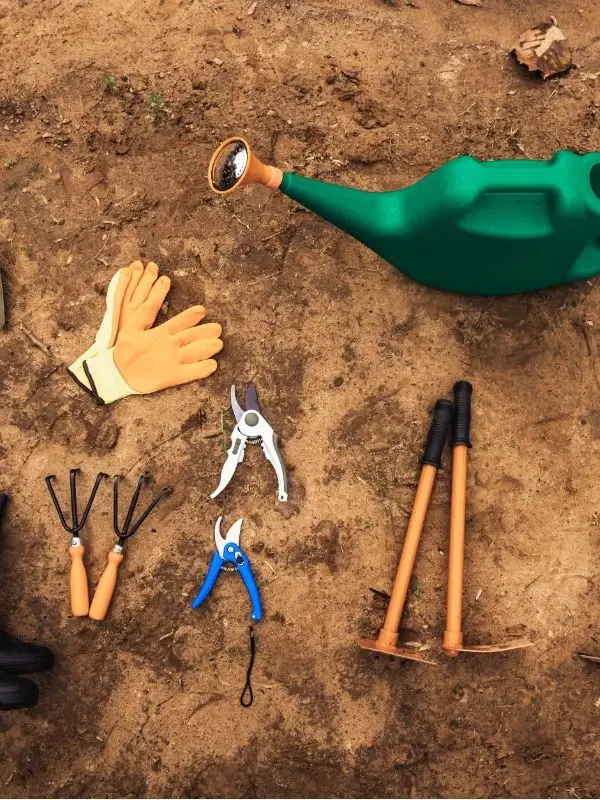
Growing ginger root at home needs just a few basic tools:
- Watering can with rose attachment – Gives gentle watering that won’t disturb newly planted rhizomes
- Heat mat – You need this to keep soil between 70-80°F, especially when starting indoors in cooler climates
- pH testing kit – Helps track soil acidity between 5.5-6.5 where ginger grows best
- Plastic dome or humidity cover – Keeps moisture stable during early sprouting
- Liquid fertilizer – Fish emulsion or seaweed fertilizer feeds nutrients throughout the season
Grow lights become crucial if you start ginger indoors in cold regions. They provide steady light 12-14 hours daily until you can plant outdoors.
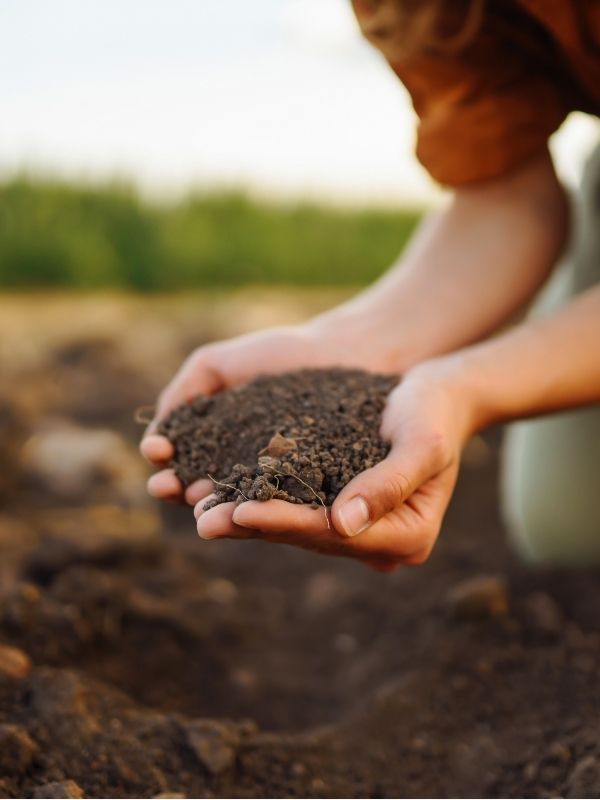
Soil mix and container selection
Ginger runs on specific soil conditions that match its tropical roots:
Ideal soil composition: The best soil mix for ginger combines good drainage with rich organic matter. Mix 1/3 compost, 1/3 peat moss or coco coir, and 1/3 topsoil with some perlite for drainage. This mix gives ginger everything it needs to grow strong.
Container considerations: Ginger grows sideways unlike most root crops. So your container choice matters:
- Width vs. depth: Pick containers wider than deep (at least 12-15 inches across)
- Minimum depth: You need 12 inches deep for good root growth
- Drainage: Several drainage holes stop soil from getting waterlogged
- Material: You can use fabric grow bags, plastic containers, or old wine barrels
A standard 15-gallon fabric grow bag fits about 7 small ginger pieces and yields around 2 pounds of fresh ginger yearly.
Table: Indoor vs. Outdoor Growing Conditions
| Condition | Indoor Growing | Outdoor Growing |
|---|---|---|
| Temperature | 75°F (24°C) ideal; heat mat recommended | Minimum 68°F daytime, not below 50°F night |
| Light | 12-14 hours under grow lights | Partial shade to filtered sunlight |
| Watering | Keep moist but never soggy | Daily in summer; adjust based on rainfall |
| Space needs | 15″ diameter container per plant | 6-8″ spacing between plants |
| Season length | Can grow year-round with proper conditions | 8-10 month growing season required |
| Protection | No additional protection needed | Move indoors when temps fall below 50°F |
Plant ginger rhizomes with buds pointing up and barely covered in soil—1-2 inches deep works best. Leave a few inches at the container’s top to add more soil as the rhizome grows upward.
These foundational elements create perfect conditions for your ginger to thrive, whatever your climate or space limits.
Step-by-Step: How to Grow Ginger at Home
The practical phase of growing ginger root demands attention to detail. Your rhizomes and growing setup are ready, so let’s head over to the step-by-step process that turns humble rhizomes into healthy plants.
1. Soak and prep the ginger root
The right preparation of your ginger is a vital first step:
- Soak your rhizomes in warm water overnight. This stimulates growth and removes potential growth inhibitors.
- Cut larger pieces of rhizome into 1-1½ inch segments, making sure each piece has at least two eyes or buds.
- Cut pieces should rest for 2-3 days to create a protective callus over cut surfaces. This stops rotting after planting.
Pro tip: A few tablespoons of hydrogen peroxide in your soaking water boost oxygen availability to the nodes and might improve sprouting success.
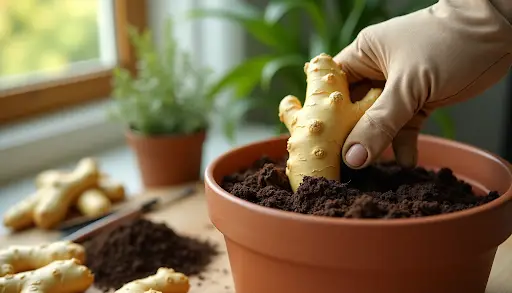
2. Planting depth and spacing tips
The right position of your ginger rhizomes creates the foundations for healthy growth:
- Place rhizomes 1-2 inches deep with eyes/buds facing upward.
- Keep multiple rhizomes 6-8 inches apart to give enough room for horizontal growth.
- Container growing needs more width than depth since ginger spreads horizontally.
Note that each rhizome piece needs at least one eye to sprout properly. Ginger grows to 2-3 feet tall, but its root system expands outward rather than downward.
3. Watering and light requirements
Ginger runs on steady moisture and moderate light:
| Growth Stage | Watering Frequency | Light Needs |
|---|---|---|
| Pre-sprouting | Keep lightly moist, not soggy | Indirect light |
| Active growth | 1-2 times weekly, soil saturated | 2-5 hours direct sun |
| Late season | Reduced watering | Same light requirements |
Check soil moisture regularly—ginger needs steady moisture without becoming waterlogged. Misting leaves daily helps copy the tropical humidity that ginger prefers.
4. When and how to move outdoors
Moving indoor-started ginger outside needs perfect timing:
- Nighttime temperatures should stay above 55°F (13°C) consistently.
- Direct outdoor planting works best when soil temperatures exceed 75°F (24°C).
- Indoor plants should adapt to outdoor conditions gradually over a week before transplanting.
Find spots with partial shade that get 2-5 hours of filtered sunlight daily. A location near water helps maintain ginger’s preferred humidity.
Sprouting takes 3-8 weeks, so patience matters. Once sprouts emerge, your ginger establishes its root system and begins its experience toward harvest.
Caring for Your Ginger Plant
Your ginger plants need proper care once they establish themselves. These tropical beauties need specific attention to moisture, fertilization, and health monitoring.
How to maintain moisture and humidity
Ginger plants do best in environments with relative humidity between 50-70%. The right balance helps prevent root rot and drought stress.
Watering guidelines:
- The soil should stay moist but never soggy
- Add about 1 inch of water weekly
- Let the top layer dry slightly between waterings
- Water more often as harvest time gets closer
The right humidity makes a huge difference, especially for indoor plants. Here are some useful techniques:
- Put humidity trays (water-filled trays with pebbles) beneath containers
- Spray plants now and then with distilled water
- Put plants close together to create a microclimate
- Good air circulation helps prevent fungal problems
Fertilizing and composting tips
These plants are heavy feeders and need regular nutrients throughout their growing cycle.
| Fertilizer Type | Application Frequency | Benefits |
|---|---|---|
| Chicken manure | Pre-planting + monthly | Excellent all-purpose nutrition |
| Liquid seaweed/fish | Biweekly | Quick nutrient absorption |
| Compost/earthworm castings | Monthly | Improves soil structure |
| Complete flower fertilizer | Every other month | Balanced nutrition |
Your fertilizing approach should match the growth stage. High-phosphorus fertilizers work best at planting. Switch to nitrogen-rich formulas during active growth, then finish with potassium-rich options.
Too much fertilizer can cause nutrient burn. Watch for yellowing leaves, brown tips, and salt buildup on soil.
Signs of healthy vs. stressed plants
Regular plant checks help spot problems early.
Healthy ginger plants:
- Vibrant green foliage
- Firm, plump rhizomes
- Steady new growth
- Moist but well-draining soil
Stressed plants may show:
- Yellowing leaves – usually means too much water
- Brown leaf tips or edges – often points to excess fertilizer
- Wilting despite moist soil – might be root rot
- Stunted growth – could be nutrient deficiency
- Curling leaves and wilting – serious problem that needs plant removal
Brown leaves don’t always mean death—they usually show stress rather than disease. Make small changes to your watering or fertilizing routine based on what you see.
Harvesting and Storing Ginger Root
The time has finally come to harvest your homegrown ginger after months of patient care. You’ll need the right knowledge about harvest timing and storage methods to enjoy your crop for months ahead.
When to harvest: visual signs
Your ginger harvest timing depends on what you want:
- Mature ginger: Watch for yellowing leaves and dying stems—this usually happens 8-10 months after planting. The leaves will naturally dry and fall off.
- Baby ginger: You can pick it earlier (4-6 months) if you like tender flesh without stringy fiber. Look for cream-colored flesh with soft pink scales.
- Fall harvest: The first frost signals harvest time in temperate climates. Cold weather gives you a natural deadline.
You don’t need to harvest everything at once. Just dig carefully around the base and snap off pieces while leaving the main plant intact.
How to harvest without damaging the plant
The right harvesting technique protects your current crop and future growth:
- Take a garden fork and loosen the soil gently around the plant, about 1 foot from the base
- Lift upward carefully without piercing the rhizomes
- A trowel works best to dig 2-4 inches down and slice off an end piece if you’re taking just a portion
- Clean your harvested rhizomes with warm water and dry them well
Save a piece of your harvest to replant. This simple step lets you grow ginger indefinitely.
Storage methods: fresh, frozen, or dried
You have several options to preserve your ginger harvest:
Fresh storage: Keep unpeeled ginger in your refrigerator’s crisper drawer using a paper bag—plastic leads to mold. Fresh ginger stays good up to 3 weeks this way.
Freezing: Unpeeled ginger goes straight into freezer bags. It lasts 3-6 months and you can grate it while frozen. Ice cube trays work great for storing grated ginger.
Drying: Cut thin slices of ginger root and dehydrate until crisp. A spice grinder turns these into homemade ground ginger. Freeze-dried ginger can last 25 years.
Table: Storage Method Comparison
| Method | Shelf Life | Best Uses | Preparation |
|---|---|---|---|
| Refrigerated (unpeeled) | 3-4 weeks | All recipes | Paper bag in crisper drawer |
| Refrigerated (peeled) | 2-3 weeks | Immediate use | Wrap in plastic wrap |
| Frozen (whole) | 3-6 months | Grating into recipes | Airtight containers |
| Frozen (grated) | 3-4 months | Quick recipe additions | Ice cube trays |
| Dried/powdered | Years | Baking, teas | Dehydrate and grind |
| Freeze-dried | Up to 25 years | Long-term storage | Professional equipment needed |
| Pickled | 2 months | Asian dishes, sushi | Mix of vinegar, sugar, water |
Conclusion
Growing Ginger: Final Thoughts
Growing ginger root at home gives gardeners amazing culinary treasures and health benefits. This trip from selecting rhizomes to harvesting shows how this tropical plant adapts to growing conditions of all types with proper care.
Success with ginger comes down to a few basic principles. A healthy, organic rhizome will boost your chances of success. The right soil mix, steady moisture, and proper light create the tropical environment ginger needs. Your patience will help you through the long growing process.
Home-grown ginger makes all the effort worth it. Baby ginger has a mild flavor without the tough texture, while mature rhizomes pack that spicy punch we love. You’ll get the best results by timing your harvest based on how you plan to use it.
| Growing Stage | Key Action | Timeline |
|---|---|---|
| Preparation | Select organic rhizomes with visible buds | Before planting |
| Planting | Plant 1-2 inches deep, buds facing upward | When soil temp reaches 75°F |
| Growth | Maintain moisture, fertilize monthly | 8-10 months |
| Baby Harvest | Harvest small pieces as needed | 4-6 months |
| Full Harvest | Wait for yellowing leaves | 8-10 months |
| Storage | Choose refrigeration, freezing, or drying | Post-harvest |
Ginger’s self-sustaining nature makes it special. You can save a few rhizome pieces from your first harvest to plant again, creating an endless supply of home-grown ginger. This connects you to your food source and provides fresh, chemical-free ingredients for your kitchen.
Start growing ginger today with a single organic rhizome and watch it grow into a thriving plant that produces months of harvests. Your cooking and health will thank you!
FAQs
Q1. Can I grow ginger from store-bought roots? Yes, you can grow ginger from store-bought roots, but it’s best to use organic ginger. Soak the rhizomes overnight, plant them 1-2 inches deep with buds facing up, and keep the soil moist. Organic ginger is more likely to sprout than conventionally grown ginger, which may be treated with growth inhibitors.
Q2. How long does it take to grow ginger? Ginger typically takes 8-10 months to reach full maturity. However, you can harvest baby ginger after 4-6 months if you prefer a milder, less fibrous flavor. For a continuous supply, you can also harvest small portions as needed without uprooting the entire plant.
Q3. What are the ideal growing conditions for ginger? Ginger thrives in warm temperatures between 70-80°F (21-27°C) with partial shade. It requires consistently moist but well-draining soil, high humidity, and protection from direct sunlight. Indoor growers should provide 12-14 hours of artificial light daily and maintain humidity levels between 50-70%.
Q4. How do I care for my ginger plant? Keep the soil consistently moist but not waterlogged. Fertilize monthly with a balanced organic fertilizer or compost. Mist the leaves regularly to increase humidity. Monitor for signs of stress such as yellowing leaves or brown tips, and adjust care accordingly. Harvest when the leaves start to yellow and die back.
Q5. What’s the best way to store harvested ginger? Fresh ginger can be stored unpeeled in the refrigerator for 3-4 weeks. For longer storage, freeze whole or grated ginger for up to 6 months. You can also dry and grind ginger into a powder, which will last for years. Choose the storage method that best suits your culinary needs and intended use.