When going gardening, the important thing is the soil. Because it is the soil that helps the plant’s growth. It is the soil that provides nutrients and all other inputs to plants. People use potting soil for plants to be planted in good soil, and also wonder how it is made. Well, we are going to tell you how to make indoor potting soil.
Brief about Potting Soil
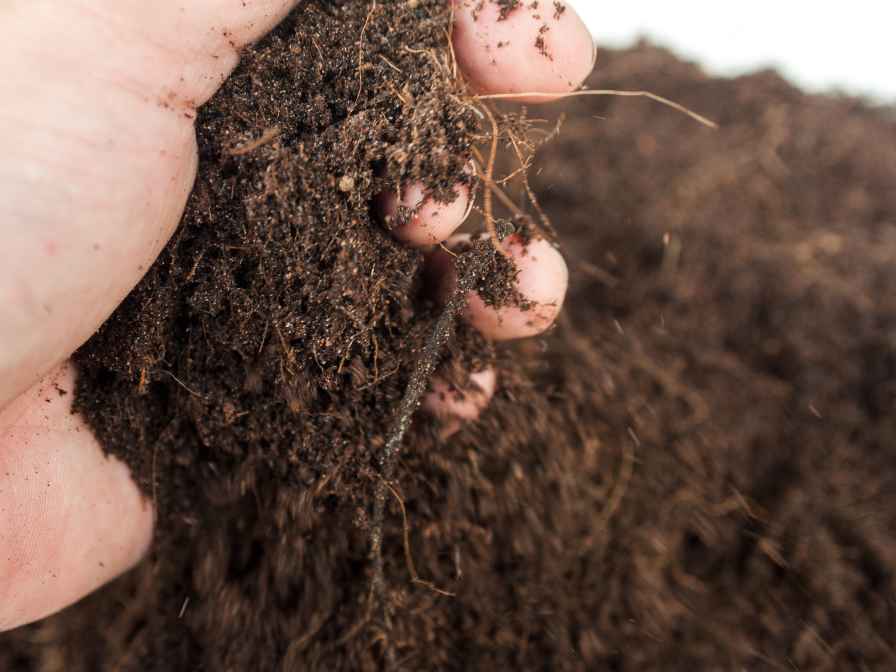
A sort of soil combination called “potting soil” is made particularly for growing plants in containers like flowerpots or planters. Peat moss, vermiculite, perlite, compost, and/or sand are common blends of different ingredients that offer plants a balanced combination of drainage, aeration, moisture retention, and nutritional content.
Unlike garden soil or topsoil, which are often heavier and more compact and may include impurities that are hazardous to potted plants like weed seeds or diseases, potting soil is lighter and more porous.
In addition to being sterilized to remove these dangers, potting soil may also include additions like fertilizers, wetting agents, or pH adjusters to promote the development and health of plants. Because different plants have varied soil needs, it’s crucial to choose potting soil that is suitable for the particular kinds of plants you want to cultivate.
In order to prevent the introduction of contaminants, it’s crucial to use clean containers and tools while planting in addition to making sure the potting soil is fresh and free from pests or diseases. It will make sure that plant grows well.
Why Use Potting Soil?
Using potting soil has great benefits. Some of these benefits are as follows:
Good Drainage
When plants are planted in indoor settings, they require good drainage. It is because the excess water can cause root rot in the plants. Potting soil is specifically formulated to provide adequate drainage, while still retaining enough moisture to keep plants healthy.
Good Aeration
Potting soil also provides good aeration to plant roots, allowing them to breathe and absorb oxygen. This is especially important for indoor plants that are not exposed to natural air circulation. This air circulation keeps them healthy.
Nutrients
Potting soil is often enriched with nutrients that are essential for plant growth, such as nitrogen, phosphorus, and potassium. These nutrients can help indoor plants thrive and produce healthy foliage and flowers.
Sterility of soil
Potting soil is typically sterilized to remove any harmful pathogens, pests, or weed seeds that could harm indoor plants. This helps to ensure that your plants remain healthy and disease-free. It helps you in avoiding any potential pests or diseases of the indoor plant.
Make indoor potting soil?
Making your own indoor potting soil can be a cost-effective and sustainable alternative to buying pre-made potting mixes. Here are the steps to make your own indoor potting soil:
Choose your ingredients
To make potting soil, you will need a variety of ingredients that can provide the necessary nutrients, drainage, and aeration for your plants. Some common ingredients include:
Peat moss
Peat moss provides good moisture retention and acidity for acid-loving plants.
Vermiculite
Vermiculite provides good water retention and aeration.
Perlite
Perlite provides good drainage and aeration.
Compost
Compost provides nutrients and helps to retain moisture.
Sand
Sand provides good drainage and aeration.
Garden soil
Garden soil provides nutrients but should be sterilized before use to prevent introducing pests and diseases.
Mixing the ingredients
Once you have gathered your ingredients, it’s time to mix them together. The exact proportions will depend on the specific plants you are growing and the conditions of your indoor environment. A general ratio that works well for most indoor plants is:
One part of peat moss
One part of vermiculite
1 part of the perlite
1 part of compost or garden soil (optional)
Mix the ingredients together thoroughly in a large container. Mix them well so that all the products are evenly mixed and sorted.
Testing the soil
Before using the soil, it’s a good idea to test the pH and nutrient content to ensure that it is suitable for your plants. You can use a pH testing kit or send a soil sample to a testing lab to get more detailed results.
Storing the soil
Choose a cool and dry place to store your handmade potting soil before using it for indoor plants. You can also add amendments like fertilizers or pH adjusters before planting. If you are going to store the soil for a longer period of time, store it in a plastic bag or container.
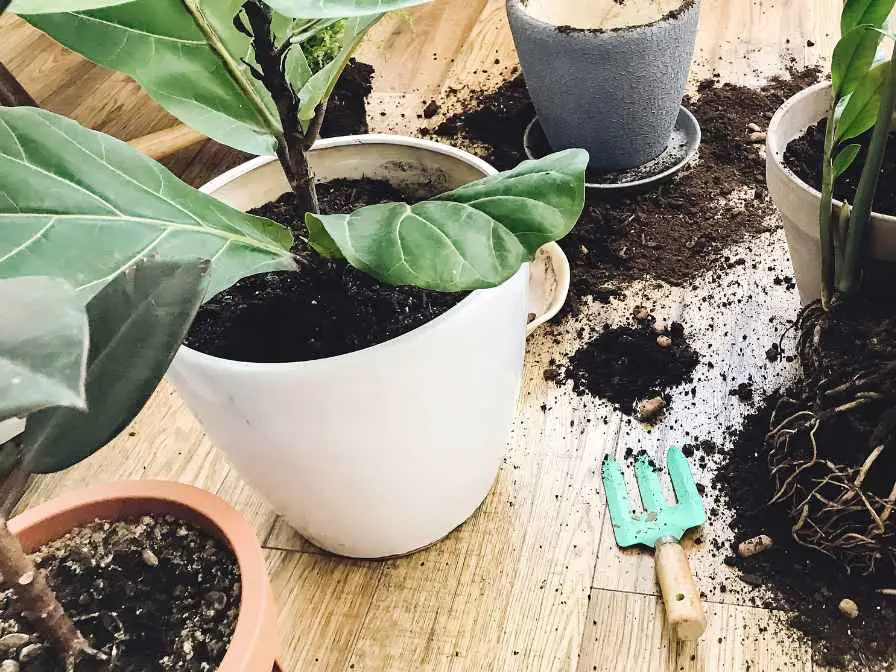
Using the soil for indoor plants
When planting your indoor plants, fill the container with the potting soil mixture and plant as you normally would. Water the soil thoroughly after planting and monitor the moisture level regularly. This soil will have almost the same effect as the potting soil available in the market.
By following all of these steps, you can make your own indoor potting soil that is customized to the specific needs of your plants, while saving money and reducing waste. Also, you will learn a lot during this whole process.
In a nutshell, potting soil is a great choice for any plant to be planted in an indoor setting. It is full of nutrients and can provide almost ideal conditions for indoor plants to grow well. You just have to get all the basic elements right and mix them. Then you can use them as you want for the indoor plants.
FAQs
How long you can keep the Indoor Potting Soil?
Potting soil whether it is for the use of indoor plants or outdoor plants, you keep for 6 to 12 months. Of it is kept open. If you have made indoor potting soil and you want to store it, you can keep it in plastic bags for 1 to 2 years.
Where to store Indoor Potting Soil?
You have to store the potting soil in a space that is clean and airtight. You can use plastic bins, plastic bags, or containers. Make sure it is placed above the ground so that it remains away from pests and diseases.
Is Indoor Potting Soil Sterilized?
It is not sure whether potting soil made by yourself will be sterilized or not. You can make sure by sterilizing it in the oven, by baking it for 30 minutes under 180 to 200 F. make sure it is folded in foil during the process of sterilization.
