
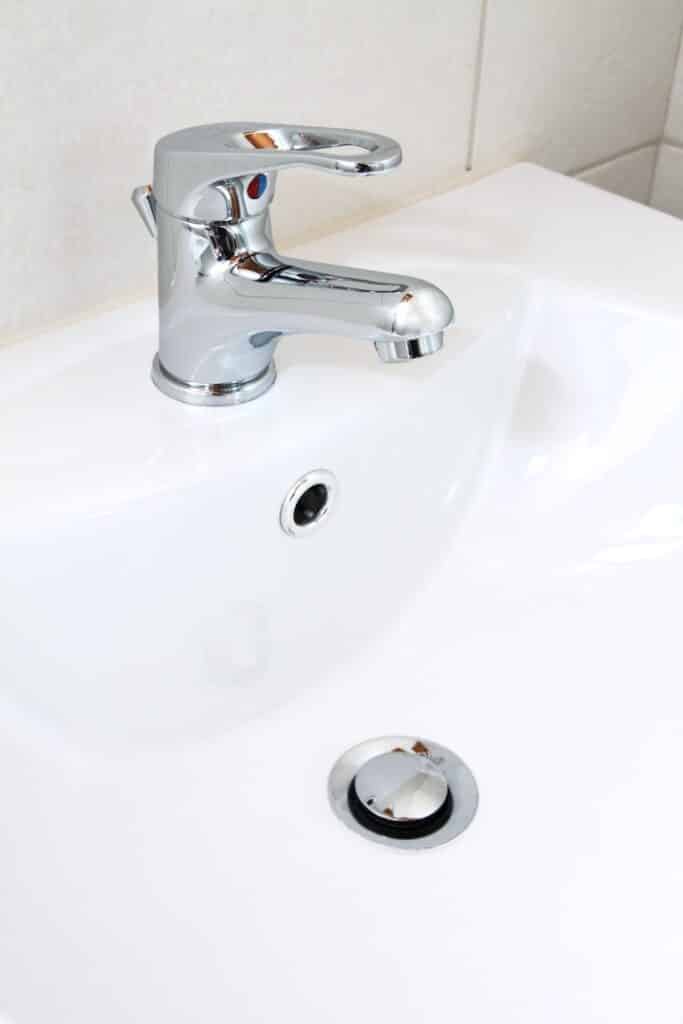
Every one of us almost uses the sink in the bathroom. The bathroom sink stopper comes into play there. It prevents the water from coming out to the area we want to keep dry. Also, it also channels the water in the right direction of the sewerage. People often choose and install the sinks after careful attention to color, style, and reliability.
Sink clogging is one of the normal problems attached to the sink. A special sink stopper (like built-in) is always installed in the sink, to prevent different items from rushing to the sewerage which can finally result in severe clogging of sewage pipes. These items include hair, soap, and other similar ones.
When clogging starts in the sink, water starts to accumulate in it for a long period of time. Soon after, if not solved at this stage it also results in hard clogging which blocks the water. For this, you have to call the plumber, or you can remove the sink stopper on your own.
This task is not so much difficult, and it will also save you time and money. If that’s the case, you are in a right place. We will discuss here how to remove the bathroom sink stopper.
Starting the Process of Removal of Bathroom Sink Stopper
First of all, you need to clean the area around and under the sink. It is because most of the time, we keep some items under the sink that is not frequently used in the bathroom. Also, the sinks are installed in areas that are slippery because of the tiles.
The water may spill, and it can cause you to slip during the removal of the sink stopper. So, cleaning the area around will make the process easy, and will reduce any chance of damage if there is a slippery area around.
You need to be proactive in this case. You can clean the sink stopper regularly after a brief period of time before it starts clogging. It will help you to stay away from the difficulty of sink-stopper clogging.
Required Tools for the Removal of Bathroom Sink Stopper
Firstly I would recommend you try to remove the sink stopper by hand. It may require some force but by twisting and moving it you might get it out. If it is not possible you would have to use some of the basic available tools. It is not difficult to use them.
Most of the time tools are required because the sink stopper is being installed in such a way.
Tools that are required are:
A Regular Bucket
A regular bucket is needed for this process. You might need it while you open the screws and water starts spilling. A bucket well placed will prevent water from spilling. Also, you can put screws and other accessories in the bucket if they are rusty. Use some good quality rust remover as It will also help in removing rust if there is any.
Wrench or Pliers
These are the main basic tools for any plumbing work. These are usually available in all houses. You will need one of these tools because it is not sure how much tight is the screw which is holding the sink stopper.
Hair Clog Removing Tools
You will need a hair clog removal tool. Because hairs are one of the main items that cause clogs in the sink stopper. This is a plastic-made small tool with a hook on one side. It is a very effective tool and can be used in many other situations.
Brush
This can be any brush. It can be any old toothbrush also. The brush is not necessary but is recommended to have to clean the sink stopper. Because the hairs of the brush can penetrate the narrow space of the sink stopper, you can also use it for cleaning the space where the bathroom sink stopper is actually installed.
A Regular Detergent or Vinegar
You might need regular detergent or vinegar. It is not necessary, but it is good to have to clean the sink stopper. Detergent or vinegar has some special chemicals which make cleaning easier and more effective.
Flashlight
You will need a normal handheld flashlight. It is necessary because you might have a light source for operating on the sink, but under the sink, you will need a light to check the screws and fix the tools. It is important because in the absence of light your hands might get hurt because of not using tools properly.
Drain Cleaner
This one is not a necessary item. But as now you have opened the sink and sink stopper it is a golden chance to clean the drainpipes also. The draining liquid cleaner will not only clean the pipes but will ensure the cleaning of clogs inside the pipes.
Also wear gloves, preferably rubber gloves. It will help you to maintain cleanliness.
These tools are usually available in every home. Using these tools will make your task more manageable, and you will be satisfied with the work. Keep any spare screw with you to use when needed. Also, keep full track of the activity performed so that you don’t leave any tools behind after work.
Types of Bathroom Sink Stopper
Different types of sink stoppers are installed across a variety of sinks. It is better to know about your type. It will make the process easy.
Lift and Turn Sink Stopper
You can perceive this kind of stopper by a little handle that is situated on the sink stopper cap.
This handle fills in as a manner to open or close the fitting, contingent upon the course you’re turning it on. The lift-and-turn stopper has a set screw underneath the plug’s cap that serves for the introduction. This kind of plug can be interesting for removing, as unscrewing may be troublesome.
Push and Pull Sink Stopper
This stopper is somewhat like the lift-and-turn one with regard to the plan. You can open it by pulling it up and close it by pushing it down. Very much like the lift-and-turn plug, it has a screw under the stopper cap.
Pop Up Sink Stopper
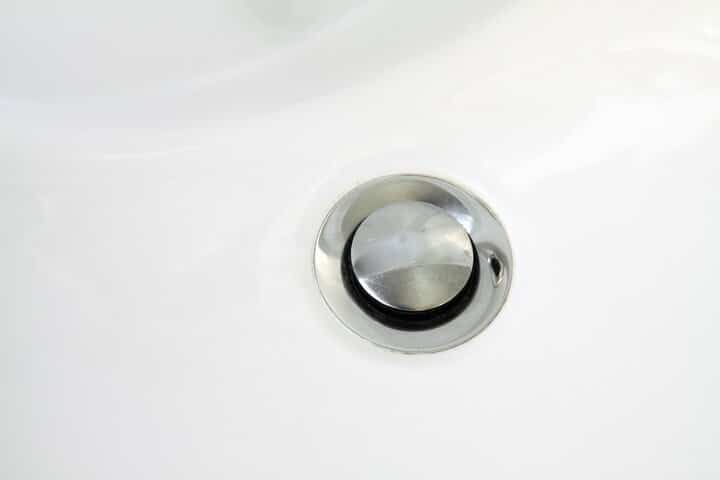
As it were, the pop-up washroom sink stopper seems to be like a restroom sink pop-up. They have a switch on the spring and on top of the flow plate. This helps the stopper to open or close. These are a little bit tricky to work on and install despite being high quality.
Toe Touch Sink Stopper
This washroom sink stopper is otherwise called a foot-incited or a toe-tap. It’s the same as the push-and-pulls and lift-and-turn plugs. Spring is an extra feature here. Use your foot to open or close it. The removing cycle is like the lift-and-turn one.
Trip Lever Sink Stopper
This sort of restroom sink plug has a switch situated at the forward portion of the tub. It has no apparent pop-up plug, simply a sifter. The trip switch washroom sink plug has a plunger in the flood pipe. It goes all over to open and close the drainpipe. It is a little bit complex to install.
Flip It, Sink Stopper
This type has a switch right on the stopper top that moves from one side to another. This is how you can close or open it. You can typically introduce and eliminate flip-it restroom sink stoppers with no devices.
Now you are well aware of all the tools and the types of sink stoppers. Now you can easily identify what to use and how to do it. However, we will guide you step by step in this process also.
Step 1
Utilize the electric lamp to assist you with finding the horizontal plunger pole that associates the strap to the stopper. Search for a bar that joins the vertical tie. You shouldn’t have issues distinguishing it, as it has a few holes in it.
Then, there is a metal clip that fixes everything together. Eliminate it and store it somewhere safe with the goal that you can use it later. Likewise, make a memorable place where opening the bar was fitted on. If not, you probably won’t know how to assemble everything eventually.
Step 2
The opposite side of the segregated pole ought to be associated with a turned nut that you need to unscrew. This is the second when you take the pail and position it under the sink. You can save a lot of cleaning work if the water comes running down when the nut is unscrewed.
Then, attempt to release the turned nut utilizing your hands. Use Pliers or wrenches in case it is not opening with your hand.
Step 3
All that you did as far ought to be sufficient to deliver the washroom sink stopper. You ought to have the option to haul it out with no issues. Remember that the stopper is likely filthy and shrouded in revolting gunk. This is a fantastic chance to tidy it up and fix it, in the event that it is broken.
Keep in mind the whole activity so that you can refix it properly. If it needs replacements, do it. Once cleaned now you are good to go for installing the stopper back in the same manner you opened it.
This whole activity not only will save you time and money but also will give you the experience to fix your problems on your own.
You May Like To Read
ARE RAIN SHOWER HEADS WORTH IT?
- How To Use A Food Mill For Blackberries

- How To Make Passata Without A Food Mill

- Homemade Blueberry Muffins, Jam, And Recipes

- How Does A Food Mill Work With Tomatoes

- Yellow Bathroom Rugs | Yellow Bathroom Rugs Set

- Best Bathroom Sink Drain Cleaner

References
https://www.tubshroom.com/blogs/tips/how-to-remove-drain-stopper
